
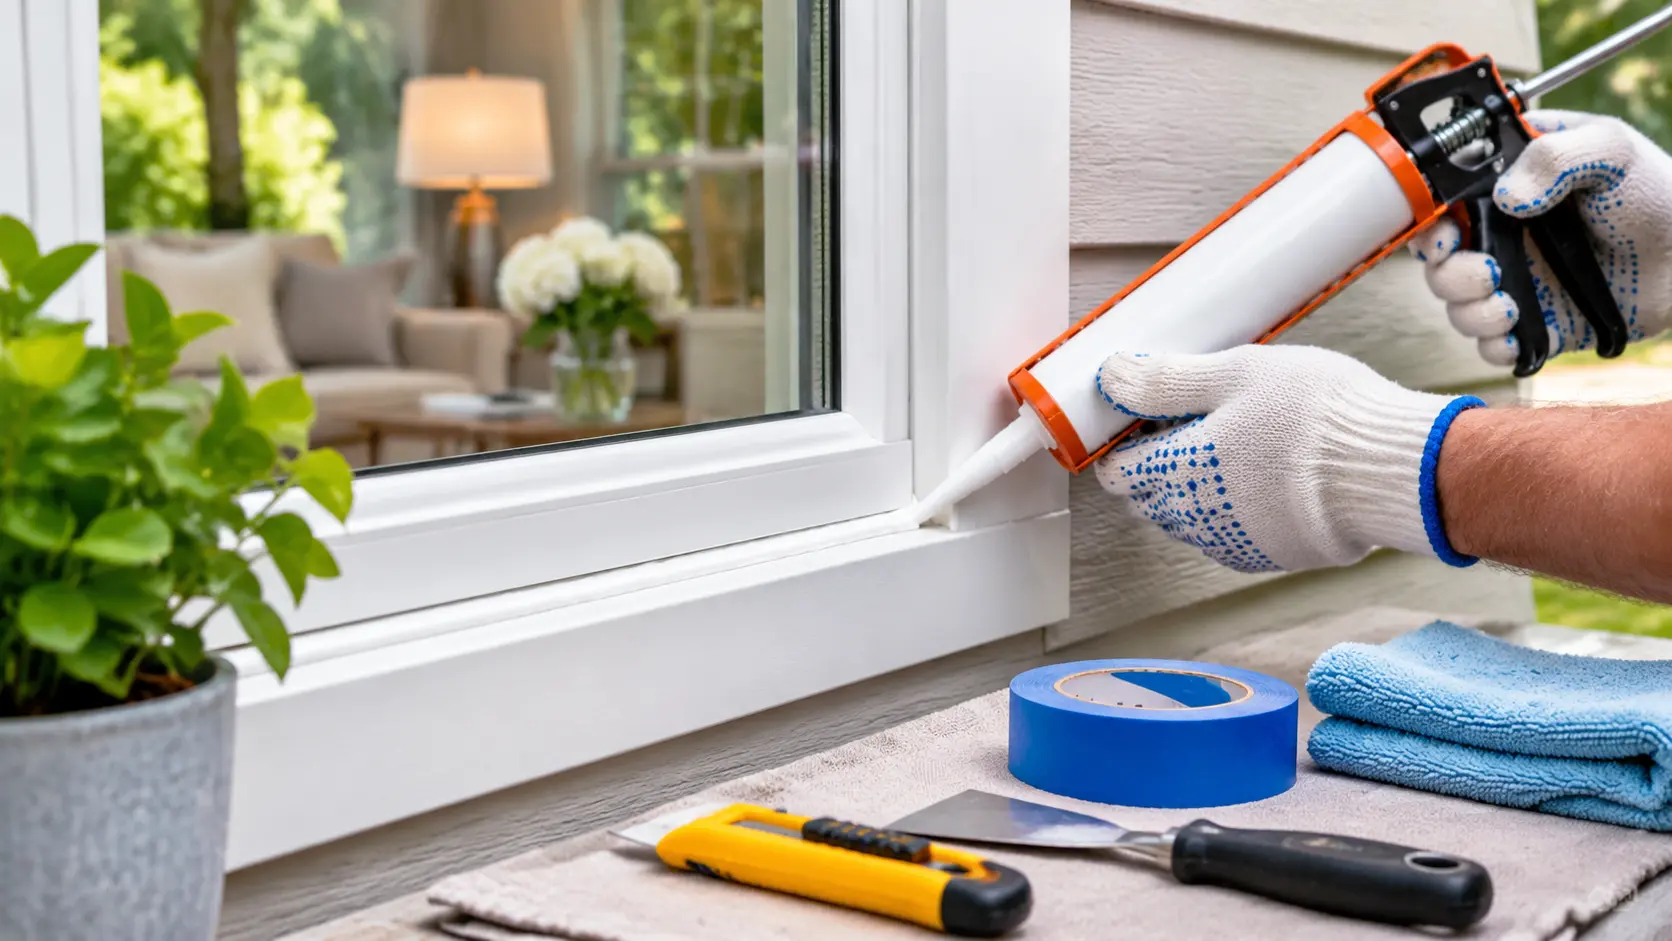
How to Reseal Windows: Stop Cold Drafts and Leaks for Good
Drafty windows can make your home uncomfortable, allow moisture to enter, and force your heating or cooling system to work harder. The good news is that you may not need to replace an entire window to fix the problem. In many cases, replacing damaged caulk, repairing worn weatherstripping, or sealing small gaps around the frame can restore a much tighter fit.
However, not every window leak has the same cause. Before reaching for a caulking gun, you need to identify where the seal has failed. This guide explains how to reseal windows from inside and outside, choose the right materials, avoid common mistakes, and recognize when a professional repair is the better option.
How Do You Know If Your Windows Need Resealing?
Window seals gradually deteriorate because of sunlight, rain, temperature changes, and everyday movement. A damaged seal may allow outside air or moisture to enter your home.
Look for these warning signs:
- Cold drafts: You feel outside air around a closed window, particularly during windy weather.
- Cracked caulk: Existing sealant has split, become brittle, or pulled away from the frame.
- Water leaks: Rainwater appears around the window sill, frame, or nearby wall.
- Loose weatherstripping: The rubber or foam material no longer makes firm contact when the window closes.
- Peeling paint: Paint around the frame is bubbling, cracking, or peeling because of possible moisture intrusion.
- Fog between glass panes: Moisture or condensation trapped inside double-pane glass may indicate a failed insulated glass unit (IGU) seal.
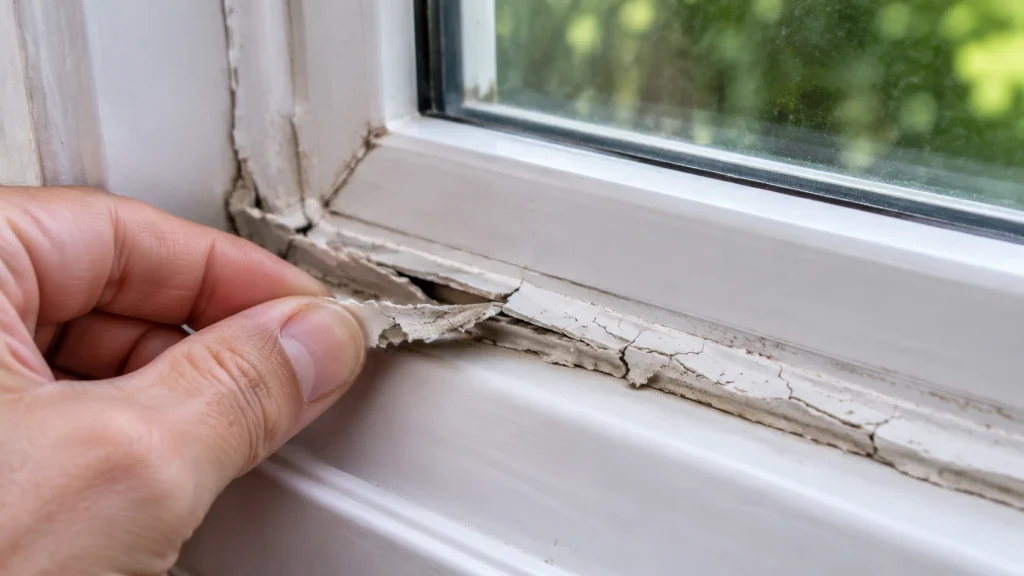
One important distinction: condensation on the room-facing glass surface is not necessarily evidence of a failed window seal. It can result from indoor humidity and a cold glass surface. Moisture trapped between two panes is a different problem.
What Type of Window Seal Needs Repair?
Before starting, determine which part of your window is causing the problem. Different components require different repair methods.
| Window seal type | Common problem | Appropriate solution |
|---|---|---|
| Exterior frame caulk | Cracked or missing sealant | Remove damaged caulk and apply compatible exterior sealant |
| Interior frame gap | Air entering around the trim | Seal appropriate gaps with interior caulk |
| Weatherstripping | Worn or flattened strips | Replace with compatible weatherstripping |
| Window glazing | Loose or cracked glazing compound | Reglaze the affected pane |
| Double-pane glass seal | Fog or moisture between panes | Have the IGU evaluated and usually replaced |
For example, if cold air enters around the movable sash, adding exterior silicone around the entire window frame probably won’t solve the problem. You may need to replace the weatherstripping instead.
Tools and Materials Needed to Reseal Windows
Gather your supplies before beginning. Using the correct products makes the repair easier and helps the new seal last longer.
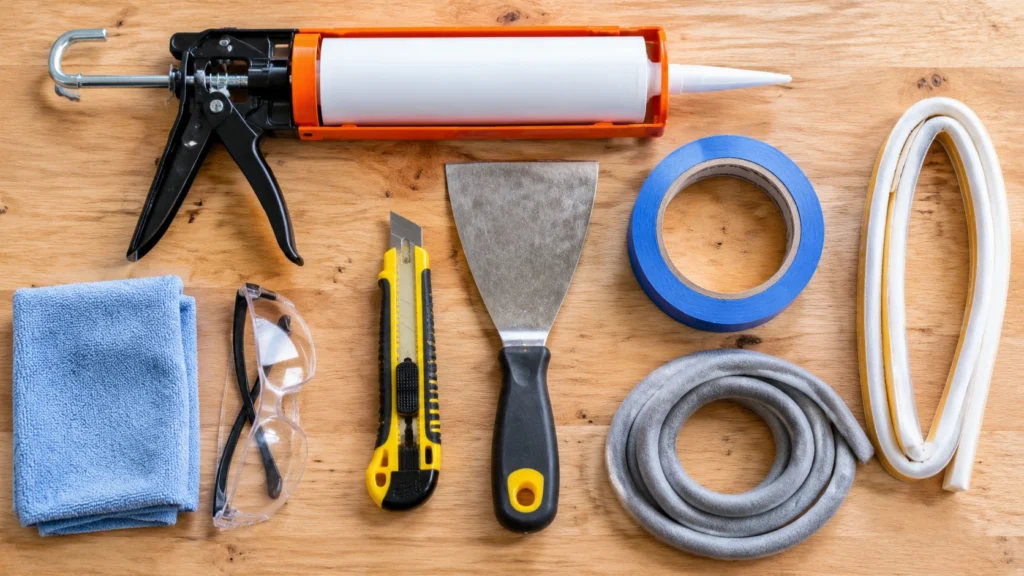
| Tool or material | Purpose |
|---|---|
| Exterior window and door caulk | Seals compatible exterior frame joints |
| Interior paintable caulk | Seals suitable interior trim gaps |
| Caulk gun | Applies sealant evenly |
| Utility knife or caulk removal tool | Removes damaged caulk |
| Putty knife or plastic scraper | Cleans remaining sealant |
| Painter’s tape | Creates clean application edges |
| Cleaning cloth | Removes dust and dirt |
| Mild cleaner | Prepares compatible surfaces |
| Backer rod | Supports sealant in wider joints |
| Replacement weatherstripping | Repairs movable sash seals |
| Safety glasses and gloves | Protects your hands and eyes |
Always check the sealant manufacturer’s instructions for compatible surfaces, temperature limits, application conditions, and curing requirements.
How to Reseal Windows From Outside: Step-by-Step
Exterior resealing is useful when the joint between the window frame and surrounding siding or masonry has cracked or separated.
Step 1: Inspect the Exterior Window Frame
Start by examining the perimeter of the window. Look for missing caulk, visible cracks, loose sealant, and gaps where the frame meets the surrounding wall.
Pay attention to the upper and side joints, but inspect the entire installation. Window designs differ, so don’t assume every edge should be sealed.
Important: Identify drainage openings and weep holes before applying caulk. These openings allow water to escape from certain window systems. Blocking them can trap moisture and cause damage.
Step 2: Remove the Old Caulk
Use a caulk removal tool or utility knife to carefully cut away deteriorated sealant. Pull away loose sections and remove remaining residue with a suitable scraper.
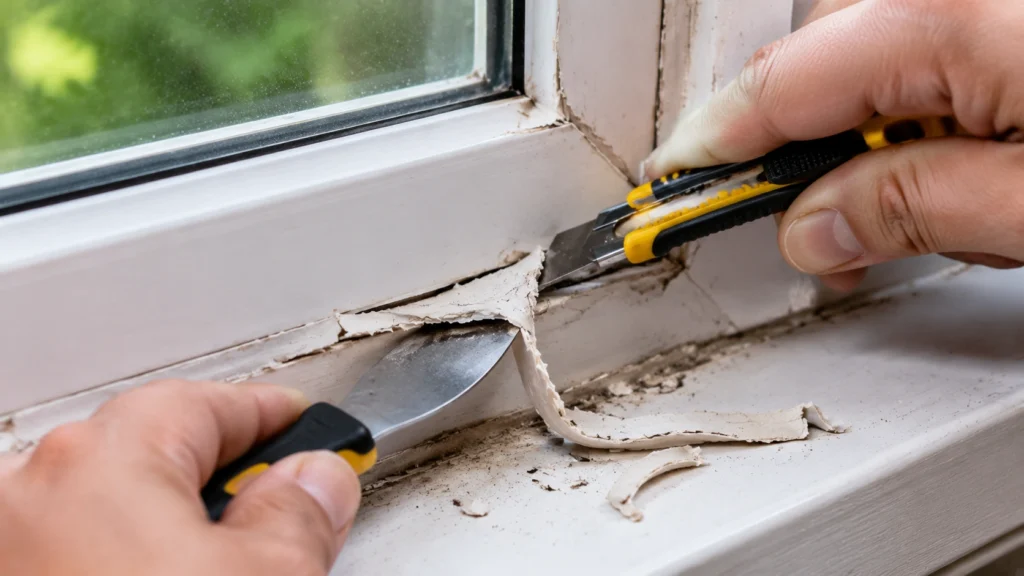
Avoid scratching vinyl frames, damaging painted wood, or cutting into flashing and waterproofing materials.
Don’t simply apply a new layer over cracked, loose, or dirty caulk. The new seal needs a suitable surface to bond properly.
Step 3: Clean and Prepare the Surface
Remove dust, dirt, loose paint, and other debris from the joint. Use a compatible cleaner and allow the area to dry completely.
Check the surrounding materials for rot, corrosion, or other damage. If water has already damaged the window frame or wall, address the underlying problem before resealing.
For wider gaps, a properly sized backer rod may be needed to support the sealant. Follow the sealant manufacturer’s joint-depth recommendations.
Step 4: Choose the Right Exterior Sealant
Not every caulk works equally well outdoors. Choose a product specifically labeled for exterior window and door applications.
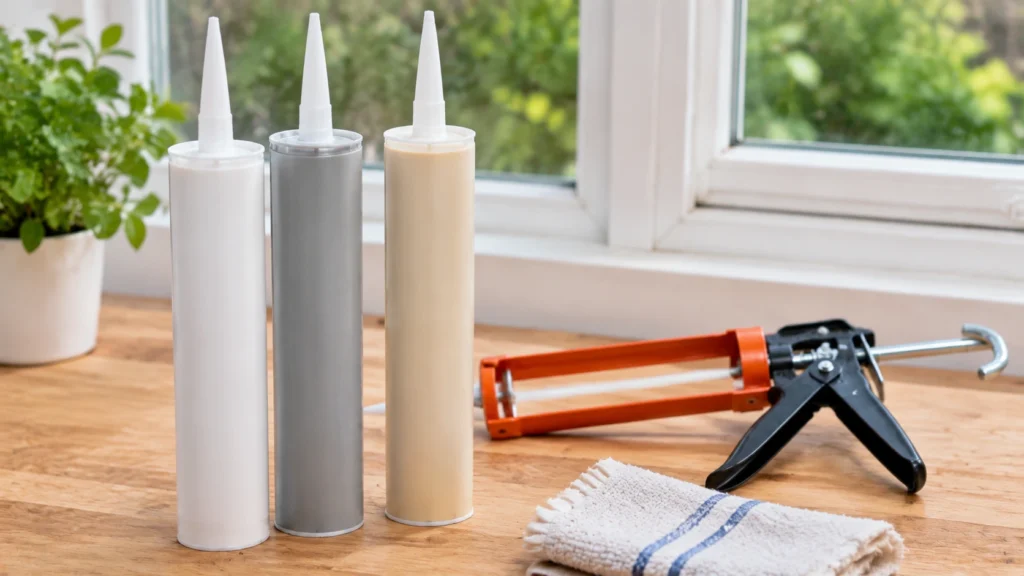
Consider these common options:
- 100% silicone: Flexible and water-resistant, often suitable for compatible exterior joints. Standard silicone generally cannot be painted.
- Polyurethane sealant: Provides strong adhesion and flexibility for certain exterior construction joints. Check compatibility with the window and siding materials.
- Paintable acrylic latex or siliconized acrylic: Useful for suitable joints where paintability matters. Check the product’s exterior-use rating.
For instance, if you’re sealing a joint between a painted wood frame and compatible exterior trim, a paintable exterior sealant may be appropriate. For a different material combination, the manufacturer’s recommendations may point toward silicone or polyurethane.
Step 5: Apply the New Sealant
Cut the nozzle at an angle to create an opening suitable for the joint. Load the tube into the caulk gun and apply steady pressure while moving along the gap.
Aim for one continuous, even bead rather than several disconnected sections. Make sure the sealant contacts both sides of the joint.
Avoid applying excessive material or covering drainage openings, moving parts, or manufacturer-designated expansion joints.
Step 6: Smooth the Sealant and Finish
Use an appropriate caulk-smoothing tool to create a consistent finish. Follow the product instructions for tooling and remove painter’s tape before the sealant skins over if the manufacturer recommends it.
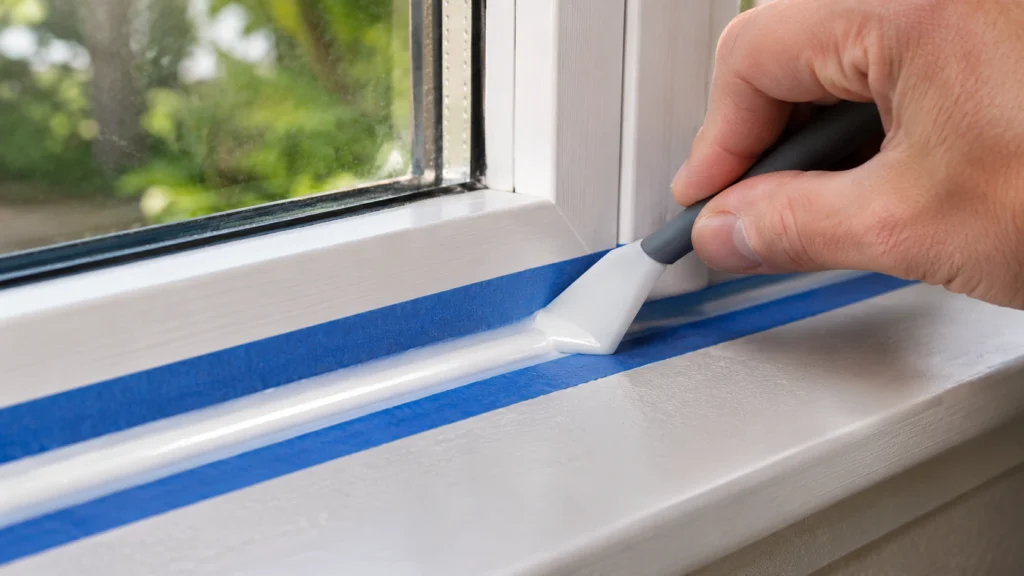
Allow the sealant to cure for the specified period. Drying and full curing are not always the same thing, so check the packaging before exposing the joint to rain or painting it.
How to Reseal Windows From Inside
Sometimes the leak comes from the interior side rather than the exterior frame. Interior repairs can help when air enters through gaps around the trim or between the window jamb and wall framing.
Seal Gaps Around Interior Trim
If you notice small cracks between painted window trim and the surrounding wall, clean the area and apply a suitable paintable interior caulk.
Smooth the bead and allow it to dry before painting.
Remember that interior trim caulk is not a replacement for exterior weatherproofing.
Replace Damaged Weatherstripping
Weatherstripping creates a seal between the moving sash and stationary frame.
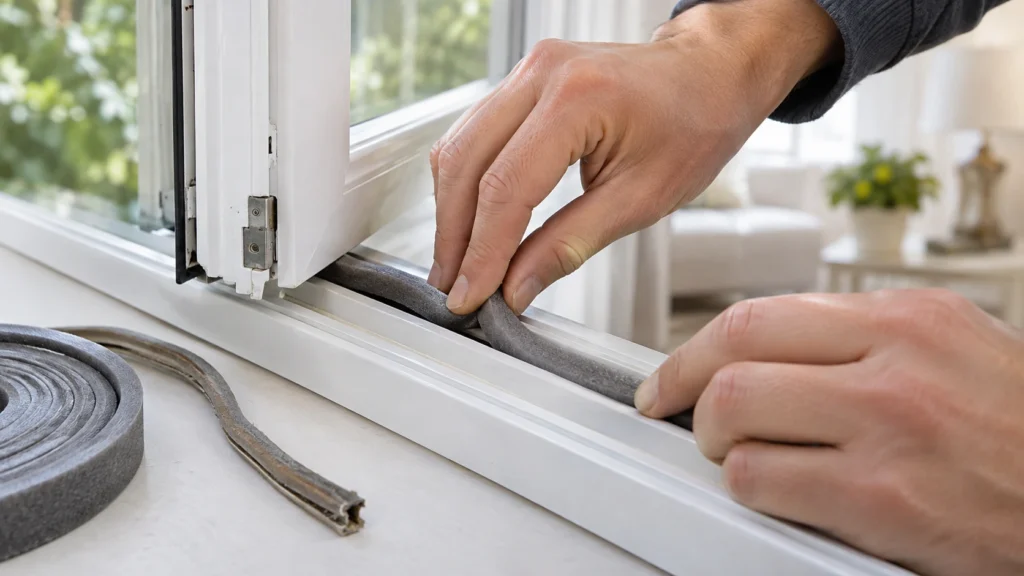
Open the window and inspect the existing material. If it is flattened, torn, brittle, or missing, remove it and install a compatible replacement.
Measure the original strip carefully and follow the window manufacturer’s installation instructions. Incorrectly sized weatherstripping can make a window difficult to close or prevent the sash from locking properly.
Seal Gaps Behind Window Trim
Air can sometimes enter through the space between the window jamb and rough opening.
ENERGY STAR recommends addressing these concealed gaps with appropriate materials, including low-expansion foam designed for windows and doors, backer rod, or caulk where suitable.
This repair may require removing interior trim. If you aren’t comfortable doing that work, consider hiring an experienced contractor.
How to Reseal Different Types of Windows
Window materials and construction methods affect which sealants and repair techniques are appropriate.
| Window type | What to inspect | Recommended approach |
|---|---|---|
| Vinyl windows | Frame joints and weatherstripping | Use compatible sealant and replacement strips |
| Wood windows | Cracked caulk, rot, and glazing | Repair damaged wood before sealing |
| Aluminum windows | Frame joints and drainage paths | Use manufacturer-approved compatible sealant |
| Double-pane windows | Condensation between panes | Evaluate the insulated glass unit |
| Older single-pane windows | Loose or cracked glazing | Repair or replace glazing compound |
Wood windows deserve particular attention because moisture can cause rot beneath deteriorated paint and caulk. Don’t seal over soft or damaged wood without repairing it first.
For older single-pane windows, glazing compound holds the glass against the sash. If the glazing is loose or cracked, the appropriate repair may involve reglazing rather than applying ordinary window caulk.
What Is the Best Caulk for Resealing Windows?
The best caulk depends on where you’re applying it and which materials it must bond to.
| Sealant | Best suited for | Paintable? |
|---|---|---|
| 100% silicone | Compatible exterior joints exposed to moisture | Generally no |
| Polyurethane | Certain exterior construction joints | Product-dependent |
| Acrylic latex | Suitable interior trim and smaller gaps | Yes |
| Siliconized acrylic | Compatible interior or exterior applications | Usually, check label |
| Glazing compound | Traditional single-pane window glazing | Depends on product |
Don’t choose sealant based on price alone. Consider flexibility, adhesion, UV exposure, paint compatibility, and the manufacturer’s recommended application.
Common Window Resealing Mistakes to Avoid
A small mistake during window repair can create bigger problems later.
- Caulking over old sealant: New caulk may not bond properly to deteriorated material.
- Blocking weep holes: This can prevent water from draining out of the window system.
- Using the wrong product: Interior caulk may not withstand outdoor weather conditions.
- Sealing moving parts: Applying caulk to an operable sash can prevent normal window operation.
- Ignoring moisture damage: Resealing won’t fix existing wood rot or damaged flashing.
- Applying caulk to wet surfaces: Moisture and dirt can interfere with adhesion.
- Using excessive expanding foam: Standard expanding foam can distort window frames. Use only suitable low-expansion window-and-door foam where appropriate.
Another important safety consideration involves older homes. If your home was built before 1978, painted surfaces may contain lead. Cutting, scraping, or sanding those surfaces can create hazardous lead dust. Review the EPA’s lead-safe renovation guidance before disturbing old paint, and consider a qualified lead-safe professional.
Can You Reseal Double-Pane Windows With Condensation Between the Glass?
Usually, no. If moisture is trapped between the two panes of a double-pane window, the insulated glass unit’s edge seal may have failed.
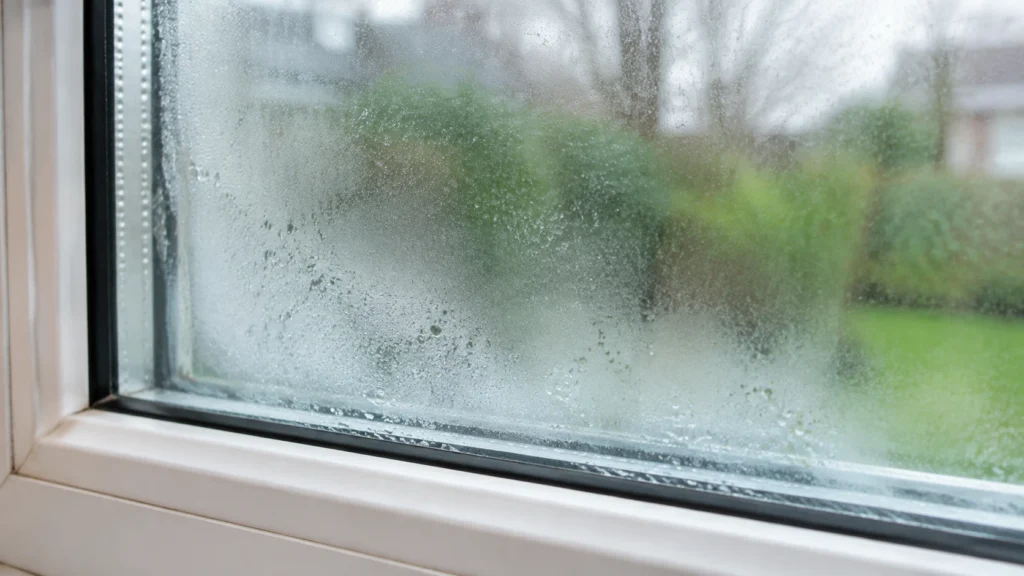
Applying new caulk around the outside of the frame will not restore the sealed space between the panes.
In many cases, the practical repair is replacing the insulated glass unit while keeping the existing window frame, provided the frame itself remains in good condition.
A window professional can inspect the unit and determine whether replacement is appropriate.
How Much Does It Cost to Reseal Windows?
The cost depends on the repair method, window size, material, accessibility, and labor rates in your area.
A small DIY caulking repair generally costs less than hiring a contractor to remove trim, repair damaged wood, or replace an insulated glass unit.
Before budgeting, determine whether you need:
- A tube of replacement exterior caulk.
- New weatherstripping.
- Window glazing repairs.
- Air sealing behind interior trim.
- Professional IGU or window replacement.
Getting more than one quote is sensible when the repair involves water damage, difficult access, or specialized glass.
When Should You Repair or Replace Your Windows?
Resealing is often worthwhile when the window frame is structurally sound and the problem is limited to deteriorated caulk, weatherstripping, or minor gaps.
However, consider professional repair or replacement if you notice:
- Extensive wood rot or frame damage.
- Persistent water intrusion.
- Broken or damaged glass.
- A failed insulated glass unit.
- Severe frame warping.
- Windows that no longer open, close, or lock correctly.
A professional inspection can help determine whether a small repair, glass-unit replacement, or complete window replacement makes the most sense.
How to Maintain Your Window Seals
A little preventive maintenance can help you catch problems before they become expensive.
Inspect your windows at least once a year, especially before winter and after severe weather. Look for cracked caulk, loose weatherstripping, peeling paint, and signs of moisture.
Keep window tracks and drainage openings clear of dirt and debris. Avoid using harsh chemicals that could damage rubber seals or frame finishes.
Also, check the manufacturer’s maintenance recommendations. The expected lifespan of sealants and weatherstripping varies by product, installation quality, and exposure.
Frequently Asked Questions
Final Thoughts
Learning how to reseal windows can help you address common drafts, deteriorating caulk, and small gaps without replacing an otherwise sound window. The most important step is identifying the actual source of the problem before choosing a repair method.
Use compatible sealants, prepare surfaces properly, protect drainage openings, and replace damaged weatherstripping when necessary. If you find extensive moisture damage or condensation between double-pane glass, seek professional advice rather than relying on exterior caulk.
With the right diagnosis and a careful repair, you can make your windows more comfortable, protect your home from moisture, and potentially avoid unnecessary replacement costs.