How to Build a DIY Tiny House: A Complete Step-by-Step Guide
Building a tiny house can be a practical way to create a smaller living space that fits your budget, lifestyle, and personal preferences. Instead of purchasing a fully finished home, you can plan the layout, choose the materials, and handle parts of the construction yourself. The process takes time and careful preparation, but a well-planned project can give you a home designed around your needs.
A successful DIY tiny house project starts long before the first piece of lumber is cut. You need to decide where the house will go, understand local building regulations, select a suitable floor plan, and estimate the full cost. From choosing a trailer or foundation to installing insulation, plumbing, and electrical systems, every stage affects the final result. This guide explains how to approach the project step by step, including the materials, tools, costs, and common mistakes worth knowing about before construction begins.
What Is a DIY Tiny House?
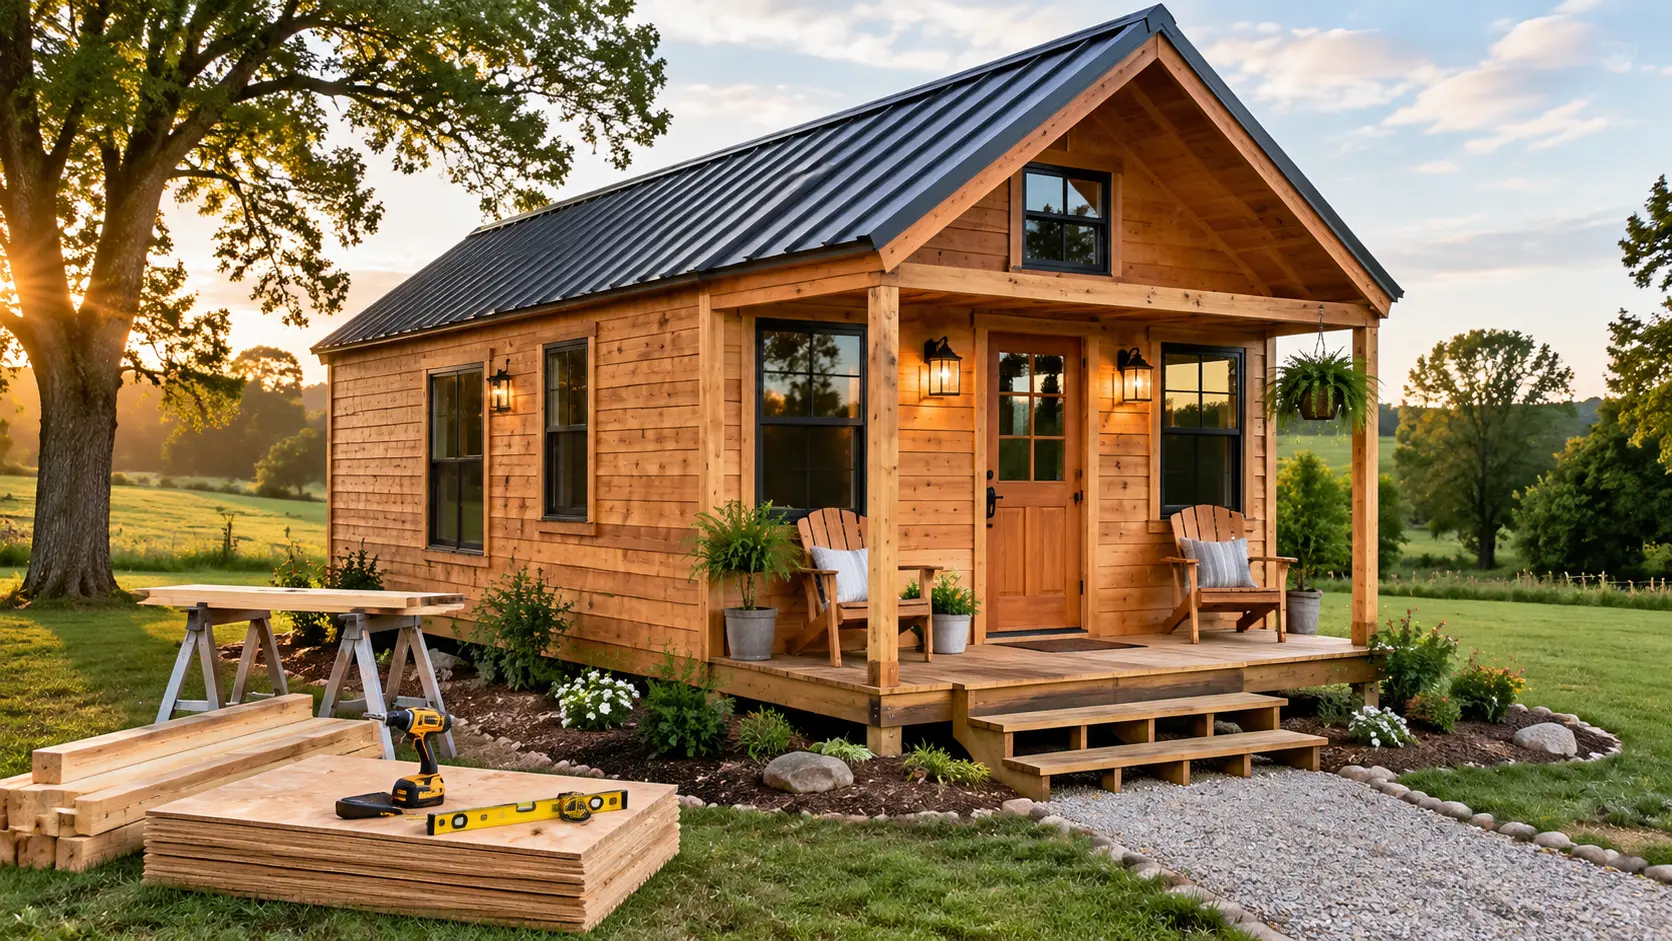
A DIY tiny house is a small residential structure that an owner builds, either independently or with help from contractors and experienced builders. Many tiny houses have an open living area, a compact kitchen, a bathroom, and a sleeping loft. Some are built on trailers for mobility, while others sit on permanent foundations.
The International Residential Code (IRC) describes tiny houses under Appendix AQ as dwelling units with 400 square feet or less of floor area, excluding lofts. However, this definition does not automatically determine whether a particular structure can be used as a permanent residence. Local building and zoning rules still apply.
There are two common construction options:
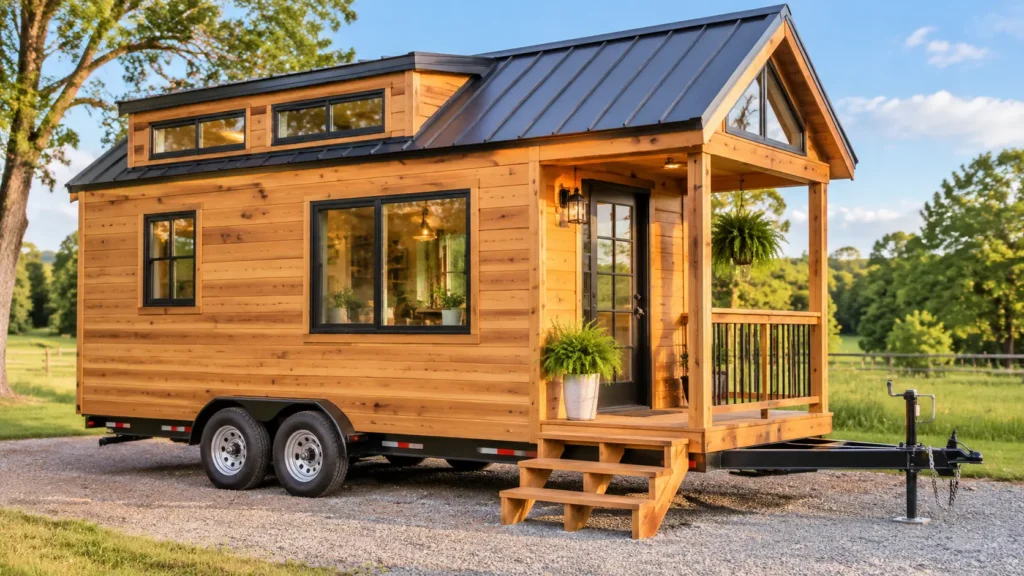
Tiny house on wheels
A tiny house on wheels, often called a THOW, is constructed on a purpose-built trailer. It may suit someone who wants the option to relocate the home. However, a house on wheels is not automatically treated as a recreational vehicle or approved for permanent residential use. Weight limits, trailer specifications, transportation rules, parking, and local occupancy regulations all need attention.
Tiny house on a permanent foundation
A foundation-based tiny house is built on a prepared site using an approved foundation system. It can be a better fit for someone who wants a long-term residence or a small backyard dwelling. The property must allow that type of construction, and the home must meet applicable building requirements.
Before choosing either option, consider where you intend to live, how often you might move, and what local authorities allow.
How Much Does It Cost to Build a DIY Tiny House?
The cost depends on the home’s size, construction method, materials, labor, and level of finishing. A basic structure with simple fixtures will cost less than a fully equipped home with custom cabinetry, premium windows, and an off-grid solar system.
Angi’s 2026 cost guide reports that tiny house projects commonly fall between $30,000 and $60,000, while DIY material costs alone can range from approximately $14,100 to $54,800. These are broad national estimates, not a quote for a particular design. Land, tools, permits, utility connections, and other expenses can increase the final budget.
Main expenses to include in your budget
| Construction item | What the cost covers |
|---|---|
| Plans and design | Floor plans, structural drawings, and engineering |
| Trailer or foundation | Purpose-built trailer, concrete, footings, or other approved foundation |
| Lumber and framing | Floor joists, wall studs, roof framing, and sheathing |
| Roofing and siding | Roof materials, underlayment, exterior cladding, and flashing |
| Windows and doors | Exterior doors, windows, hardware, and installation |
| Insulation | Floor, wall, and roof insulation |
| Electrical | Wiring, electrical panel, outlets, lighting, and approved installation |
| Plumbing | Water lines, drainage, vents, sinks, shower, and toilet |
| Interior finishing | Flooring, wall coverings, cabinets, counters, and paint |
| Appliances | Refrigerator, cooktop, water heater, and other equipment |
| Permits and inspections | Required applications, reviews, and inspections |
| Contingency | Unexpected expenses, replacement materials, and delays |
A common budgeting mistake is calculating only the price of lumber and the trailer. Utility connections, site preparation, appliances, and professional work can add substantial costs.
Set aside an additional 10% to 20% of your estimated project budget for unexpected expenses. Keep this money separate from the amount allocated to materials and finishing.
DIY Tiny House vs. Tiny Home Kit: Which Is Better?
Building from scratch and purchasing a prefabricated kit are two different approaches. The right option depends on your construction experience, available time, and budget.
| Comparison | Build from scratch | Prefabricated kit |
|---|---|---|
| Customization | More design freedom | Depends on the kit |
| Construction work | Most components require assembly or fabrication | Many components arrive pre-cut or prepared |
| Planning | Requires detailed material and construction planning | Often includes predefined plans |
| Labor | Usually more hands-on work | Can reduce certain construction tasks |
| Material selection | You choose individual materials | Options may be limited to supplier selections |
| Best suited for | Experienced or hands-on DIY builders | Beginners who want a defined construction package |
Companies such as Home Depot and Shelter Kit provide products and building packages that may help with different parts of a tiny house project. However, check exactly what a package includes before purchasing it.
A frame kit may not include windows, insulation, electrical components, plumbing, interior finishes, or a trailer. Ask for a detailed materials list and confirm that the design meets the requirements of your intended building location.
If you enjoy construction and want complete control over the layout, building from scratch may be appealing. If you prefer a more structured process, a kit can simplify some of the planning.
How to Build a Tiny House Step by Step
Once the design, location, and budget are settled, you can start planning the construction. The following steps provide a general sequence for a small house. Exact requirements depend on the design, construction system, and local building code.
Step 1: Choose Your Tiny House Type
Start by deciding whether you want a house on wheels or a permanent foundation. This choice affects nearly every part of the project, including structural design, floor construction, materials, transportation, and permits.
For a mobile home, consider the trailer’s dimensions, load capacity, axle configuration, and intended towing vehicle. For a foundation-based home, investigate soil conditions, drainage, access, and the foundation system required for the site.
Think about how many people will use the home and what activities need dedicated space. A couple may prefer an open living area with a sleeping loft, while someone working remotely may need a small office.
Step 2: Check Zoning Laws and Building Permits
Before buying materials, contact your local planning and building departments. Ask whether tiny houses are permitted on your intended property and what approvals are required.
Check requirements relating to:
- Minimum dwelling size and permitted occupancy.
- Setbacks from property lines.
- Maximum building height.
- Foundation and structural requirements.
- Water supply and wastewater disposal.
- Electrical and plumbing inspections.
- Fire safety and emergency exits.
- Rules for accessory dwelling units (ADUs).
The IRC’s Appendix AQ provides specific provisions for certain tiny houses, including compact stairs and loft requirements. However, it is a model-code appendix. Your jurisdiction must adopt or otherwise recognize the relevant provisions for them to apply.
Do not assume that a tiny house on a trailer can avoid residential regulations. Ask the local authority how your proposed home will be classified before construction.
Step 3: Select a Design and Floor Plan
A good floor plan makes a small house comfortable without wasting space. Begin with a list of essential features, then decide how much room each one needs.
For example, a compact design might include:
- An open living and dining area.
- A small kitchen with practical storage.
- A bathroom with a shower and toilet.
- A sleeping loft or ground-floor bedroom.
- Built-in cabinets and multipurpose furniture.
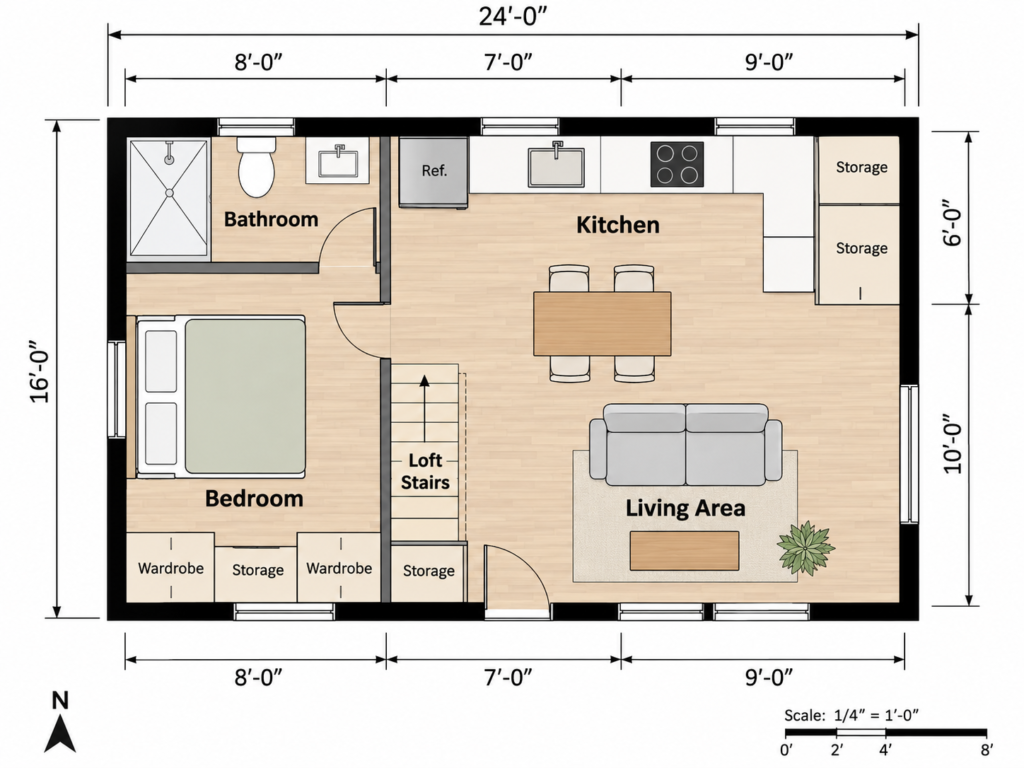
Pay attention to door swings, walking paths, ceiling height, window placement, and access to plumbing and electrical systems.
You can purchase professionally prepared tiny house plans or work with a designer. A complete plan package should include dimensions, elevations, framing details, foundation information, and a materials list. Have structural drawings reviewed by a qualified professional when required.
Step 4: Create a Realistic Budget
Turn your design into a project budget before ordering anything. List each major component, estimate its quantity, and compare prices from multiple suppliers.
Remember to include delivery charges, taxes, tool rentals, permits, utility connections, and professional installation.
If you are considering reclaimed materials, inspect them carefully. Reused lumber can reduce expenses, but damaged, treated, or unsuitable materials should not be used in structural applications without proper evaluation.
A spreadsheet can help you compare estimated and actual expenses as the project progresses.
Step 5: Choose a Trailer or Foundation
For a tiny house on wheels, purchase a trailer designed and rated for the intended building load. Check its gross vehicle weight rating (GVWR), axle ratings, tire ratings, frame condition, and compatibility with the finished design.
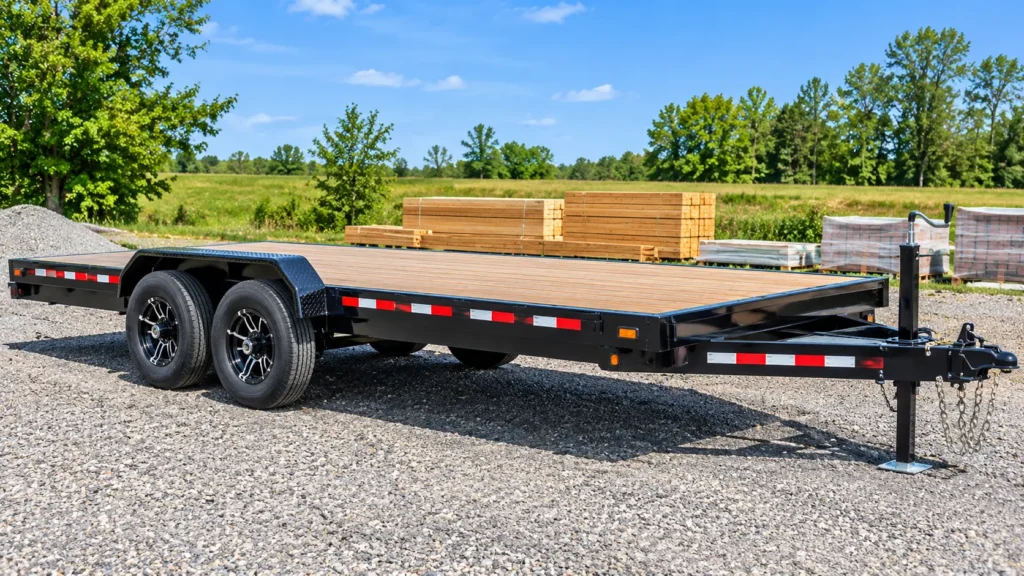
The finished home must account for framing, siding, roofing, windows, appliances, water tanks, furniture, and personal belongings. Weight distribution also matters because an incorrectly balanced trailer can become unstable during transport.
For a permanent structure, the foundation must suit the soil, building design, and local conditions. Options may include concrete piers, a slab, or another approved system.
Never choose a foundation or trailer based only on price. Have the structural requirements checked before construction begins.
Step 6: Gather Materials and Tools
Prepare a materials checklist based on the approved plans. Typical construction materials include:
| Material | Main purpose |
|---|---|
| Structural lumber | Floor, wall, and roof framing |
| Plywood or approved sheathing | Structural and exterior wall layers |
| Roofing materials | Weather protection |
| Exterior siding | Protecting and finishing the walls |
| Insulation | Reducing heat transfer |
| House wrap and flashing | Managing water intrusion |
| Windows and exterior doors | Natural light, access, and weather protection |
| Fasteners and connectors | Joining structural components |
| Drywall or interior panels | Interior wall and ceiling finishes |
| Flooring | Finished walking surfaces |
Common tools include a tape measure, framing square, level, circular saw, drill, impact driver, clamps, ladders, and appropriate safety equipment.
Rent expensive tools that you will only use occasionally. Always follow manufacturer instructions and wear suitable eye, hearing, hand, and respiratory protection.
Step 7: Build the Subfloor
The floor is the base of the structure, so it needs to be level, properly supported, and designed for the intended loads.
For a trailer-based home, the floor assembly must be compatible with the trailer frame and its attachment system. For a foundation-based home, floor framing must follow the approved foundation and structural plans.
Install the specified joists, blocking, sheathing, and fasteners. Pay attention to areas where plumbing, electrical, or ventilation components will pass through the floor.
Protect the assembly from moisture during construction. Water trapped beneath flooring can damage wood and create conditions for mold growth.
Step 8: Frame the Walls
Wall framing establishes the layout of the home. Follow the structural drawings for stud spacing, headers, openings, bracing, and connections.
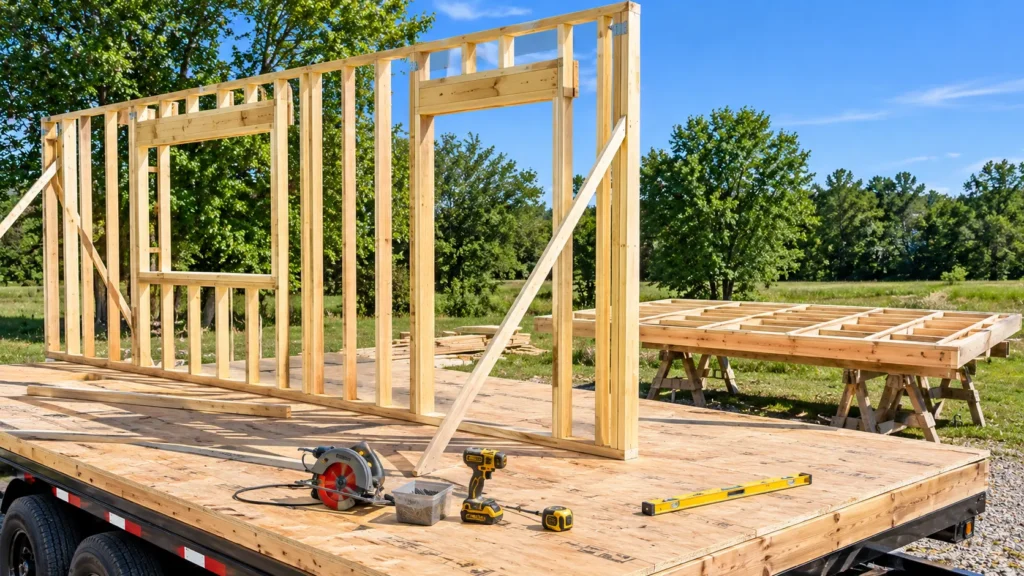
Build wall sections on a flat working surface when the design allows, then raise and secure them using appropriate lifting methods. Check each wall for alignment and plumb before proceeding.
Leave the planned openings for windows and doors. Do not cut or modify structural members without approval from the designer or engineer.
Step 9: Construct the Roof
The roof protects the structure from rain, snow, wind, and sun. Its design should account for local weather conditions and the building’s structural requirements.
Install the specified rafters or trusses, roof sheathing, underlayment, flashing, and roofing material. Make sure roof penetrations are properly sealed.
A gable roof is a common option, but a shed roof may suit a compact design with a simple interior layout. Your choice should account for drainage, headroom, snow loads, and overall height restrictions.
Step 10: Install Windows and Doors
Once the structural openings are ready, install the windows and exterior doors according to the manufacturer’s instructions.
Use the specified flashing and weather-resistant installation details to prevent water from entering around the openings. Check that doors operate smoothly and windows open correctly.
Good window placement can make a small room feel more spacious. Consider daylight, privacy, ventilation, and the direction of the sun when choosing locations.
Step 11: Add Roofing and Exterior Siding
Complete the exterior weather barrier using the specified siding, trim, flashing, and roof details.
Materials may include wood siding, metal panels, fiber cement, or other approved products. Select materials based on climate, maintenance needs, weight, and the construction system.
Pay close attention to joints, corners, roof edges, and areas around windows and doors. These details help keep water out of the building.
Step 12: Install Electrical and Plumbing Systems
Electrical and plumbing work needs careful planning. Decide where outlets, switches, lights, appliances, water lines, drains, and ventilation equipment will go before closing the walls.
Electrical work should follow the applicable electrical code and permit requirements. Hire a licensed electrician when required, particularly for service connections, panels, grounding, and circuit installation.
Plumbing plans should cover fresh water, drainage, venting, water heating, and wastewater disposal. A tiny house still needs safe and reliable plumbing, even if it has only one bathroom and a compact kitchen.
Do not improvise electrical or plumbing connections to save money. Incorrect installations can cause fires, leaks, electrical shocks, and expensive repairs.
Step 13: Add Insulation and Ventilation
Insulation helps maintain indoor comfort by reducing heat transfer through the floor, walls, and roof. The appropriate material and thickness depend on your climate and the local energy code.
Common options include fiberglass batts, mineral wool, rigid foam, and spray foam. Each has different installation requirements and moisture characteristics.
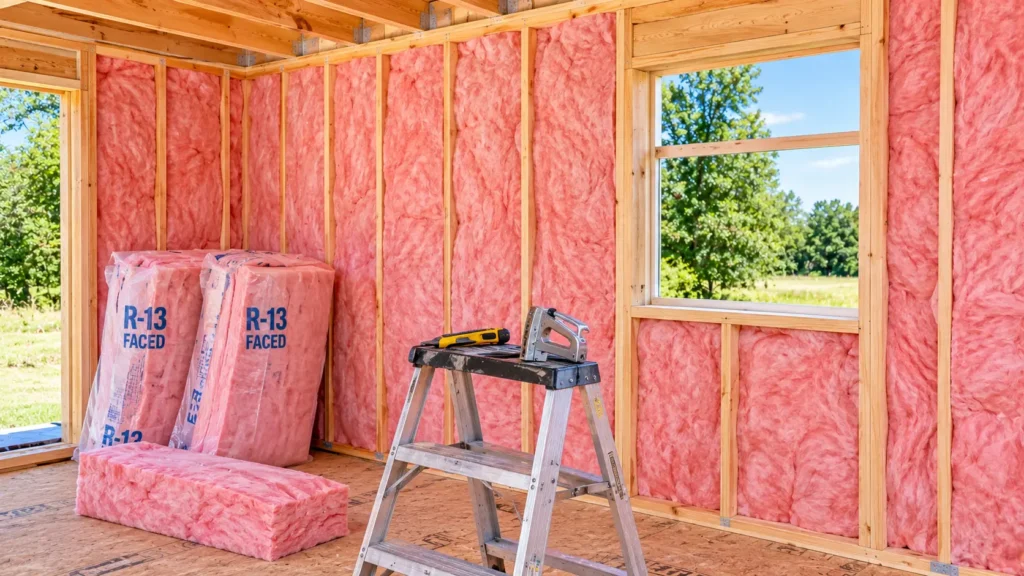
Air sealing is also important. Seal appropriate gaps around framing, windows, doors, and service penetrations. However, an airtight home still needs controlled ventilation.
The U.S. Department of Energy explains that air sealing and ventilation should work together. Without adequate fresh air, moisture and indoor pollutants can accumulate. Consider mechanical ventilation and bathroom exhaust where required.
Step 14: Complete the Interior
Interior finishing is where the tiny house starts to feel like a home. Install approved wall and ceiling finishes, flooring, cabinets, countertops, lighting, and fixtures.
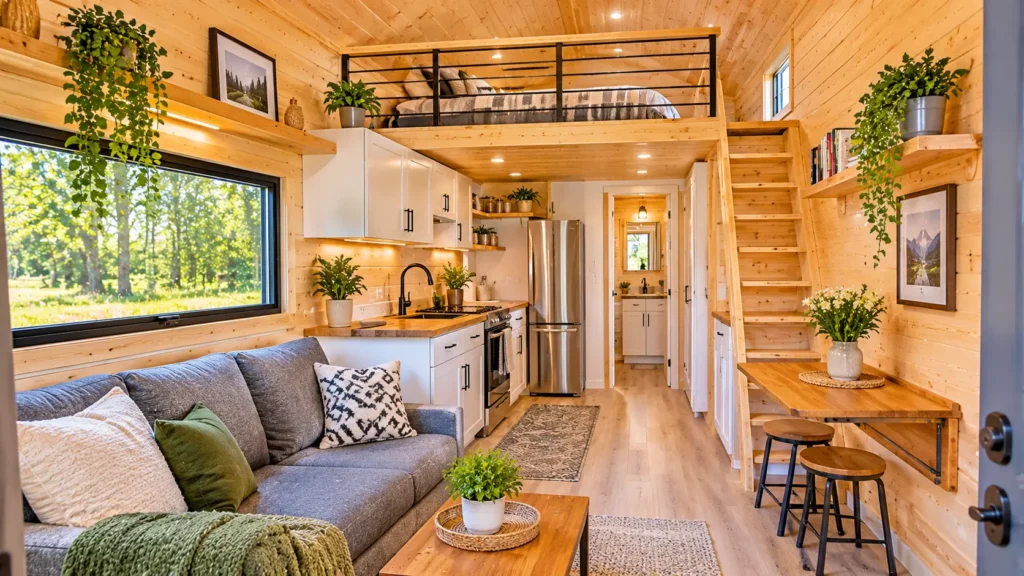
Choose materials that are easy to maintain and suitable for compact spaces. Lighter finishes can make a room feel brighter, while built-in storage can reduce clutter.
Consider furniture that serves more than one purpose. A fold-down table, storage bench, or convertible sofa can provide useful space without filling the entire room.
Before installing permanent cabinets or furniture, make sure electrical panels, plumbing access points, and required service clearances remain accessible.
Step 15: Inspect and Prepare Your Tiny House
Before moving in, arrange the required inspections and obtain approvals from the relevant authorities.
Check the roof, exterior seals, windows, doors, plumbing connections, electrical systems, ventilation, smoke alarms, and carbon monoxide alarms where applicable.
For a house on wheels, arrange a separate review of the trailer, finished weight, tires, brakes, lights, hitch, and towing setup before transportation.
Keep copies of plans, permits, inspection records, equipment manuals, and material warranties. These documents can help with maintenance, insurance, and future repairs.
How Long Does It Take to Build a Tiny House?
The construction timeline depends on the size of the home, design complexity, weather, available tools, and your building experience.
A simple structure may take several months of part-time work, while a detailed home with custom features and complex utility systems can take considerably longer.
| Project stage | Main activities |
|---|---|
| Planning | Design, research, permits, and budgeting |
| Preparation | Site work, trailer or foundation, and material ordering |
| Structural construction | Floor, walls, roof, windows, and doors |
| Utility installation | Electrical, plumbing, heating, and ventilation |
| Finishing | Insulation, wall coverings, flooring, and cabinets |
| Final checks | Inspections, corrections, and occupancy preparation |
Do not set a moving date based only on the expected framing schedule. Permit reviews, inspections, material delays, and professional trade availability can affect the entire project.
Common DIY Tiny House Building Mistakes to Avoid
Small construction mistakes can become expensive because compact homes have limited room for changes. Watch out for these problems:
- Starting without checking local regulations: A completed house may be difficult or impossible to place legally if the property does not allow it.
- Underestimating the budget: Many first-time builders forget utility connections, permits, delivery, tools, and finishing costs.
- Choosing an unsuitable trailer: A trailer with insufficient capacity can create serious structural and transportation risks.
- Poor insulation and ventilation: Inadequate moisture control can lead to condensation, mold, and damage to building materials.
- Overcomplicating the floor plan: Too many partitions, cabinets, and furniture pieces can make a small home uncomfortable.
- Attempting specialist work without the right qualifications: Electrical, plumbing, and structural work may require licensed professionals and inspections.
- Forgetting future maintenance: Roof access, plumbing connections, ventilation equipment, and electrical panels should remain accessible.
How to Make a Tiny House More Energy Efficient
Energy efficiency can reduce running costs and improve comfort throughout the year. Start with the building envelope rather than buying expensive equipment first.
Insulate the floor, walls, and roof according to local requirements. Seal unwanted air leaks around openings and service penetrations, then provide the ventilation the home needs.
Choose appropriately sized heating and cooling equipment. An oversized system may cycle inefficiently, while an undersized one may struggle during extreme weather.
Other options include LED lighting, energy-efficient appliances, low-flow plumbing fixtures, and properly designed solar systems.
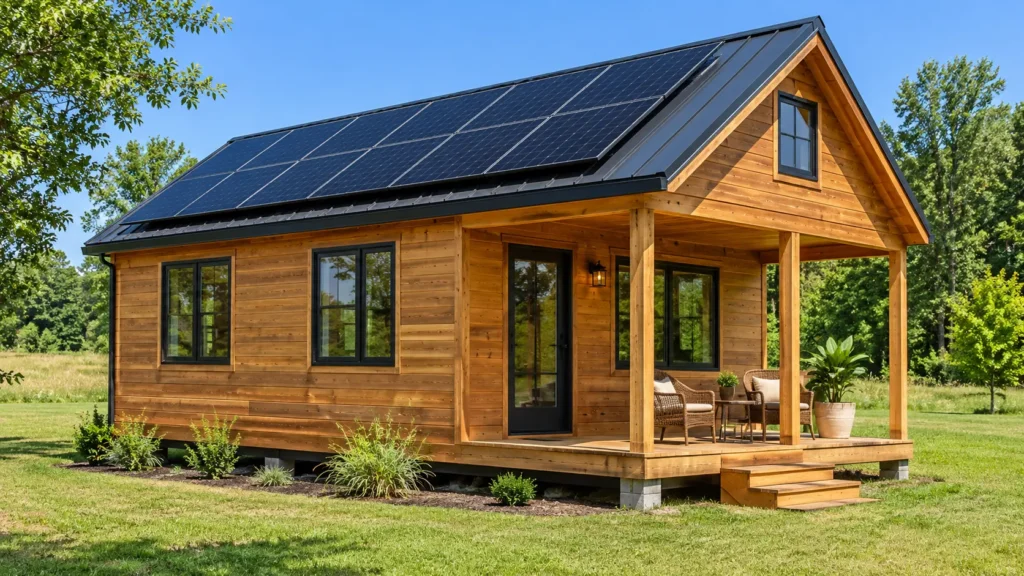
If you plan to live off-grid, calculate your electricity use before buying solar panels and batteries. Consider daily appliance consumption, seasonal sunlight, backup power, and how you will manage water and wastewater.
Is Building Your Own Tiny House Worth It?
Building a tiny house can be worth the effort if you enjoy hands-on projects and have a clear reason for choosing a smaller home. You can control many design decisions, choose materials, and complete suitable tasks yourself.
However, DIY construction requires time, patience, and careful budgeting. Some parts of the project may require architects, engineers, electricians, plumbers, or other qualified professionals.
Before committing, compare the cost of building from scratch with a prefabricated kit or finished tiny home. Include the price of land, site preparation, utility connections, and ongoing expenses.
The best choice is the one that fits your actual living needs and can be built and occupied legally and safely.
Frequently Asked Questions
Final Thoughts
A DIY tiny house can be a rewarding construction project, but the best results come from planning before building. Start with the location and local regulations, choose a suitable design, and calculate the full budget. Then work through the construction stages in the correct order, using approved plans and qualified professionals where needed.
Keep safety and long-term maintenance in mind throughout the process. A smaller home still needs a sound structure, reliable utilities, proper insulation, and adequate ventilation. With realistic expectations and a well-organized plan, you can create a tiny house that fits your space requirements and everyday lifestyle.